Little Acorn: A Free Amigurumi Pattern for Beginners
This free amigurumi pattern makes a small stuffed acorn, about 2½ in (6.5 cm) tall, in spiral rounds of single crochet. You start with a magic ring, work a few increases for the nut, then add a wider cap and a little stem. It is a gentle first amigurumi.
- Crochet, US terms
- Beginner
About this pattern
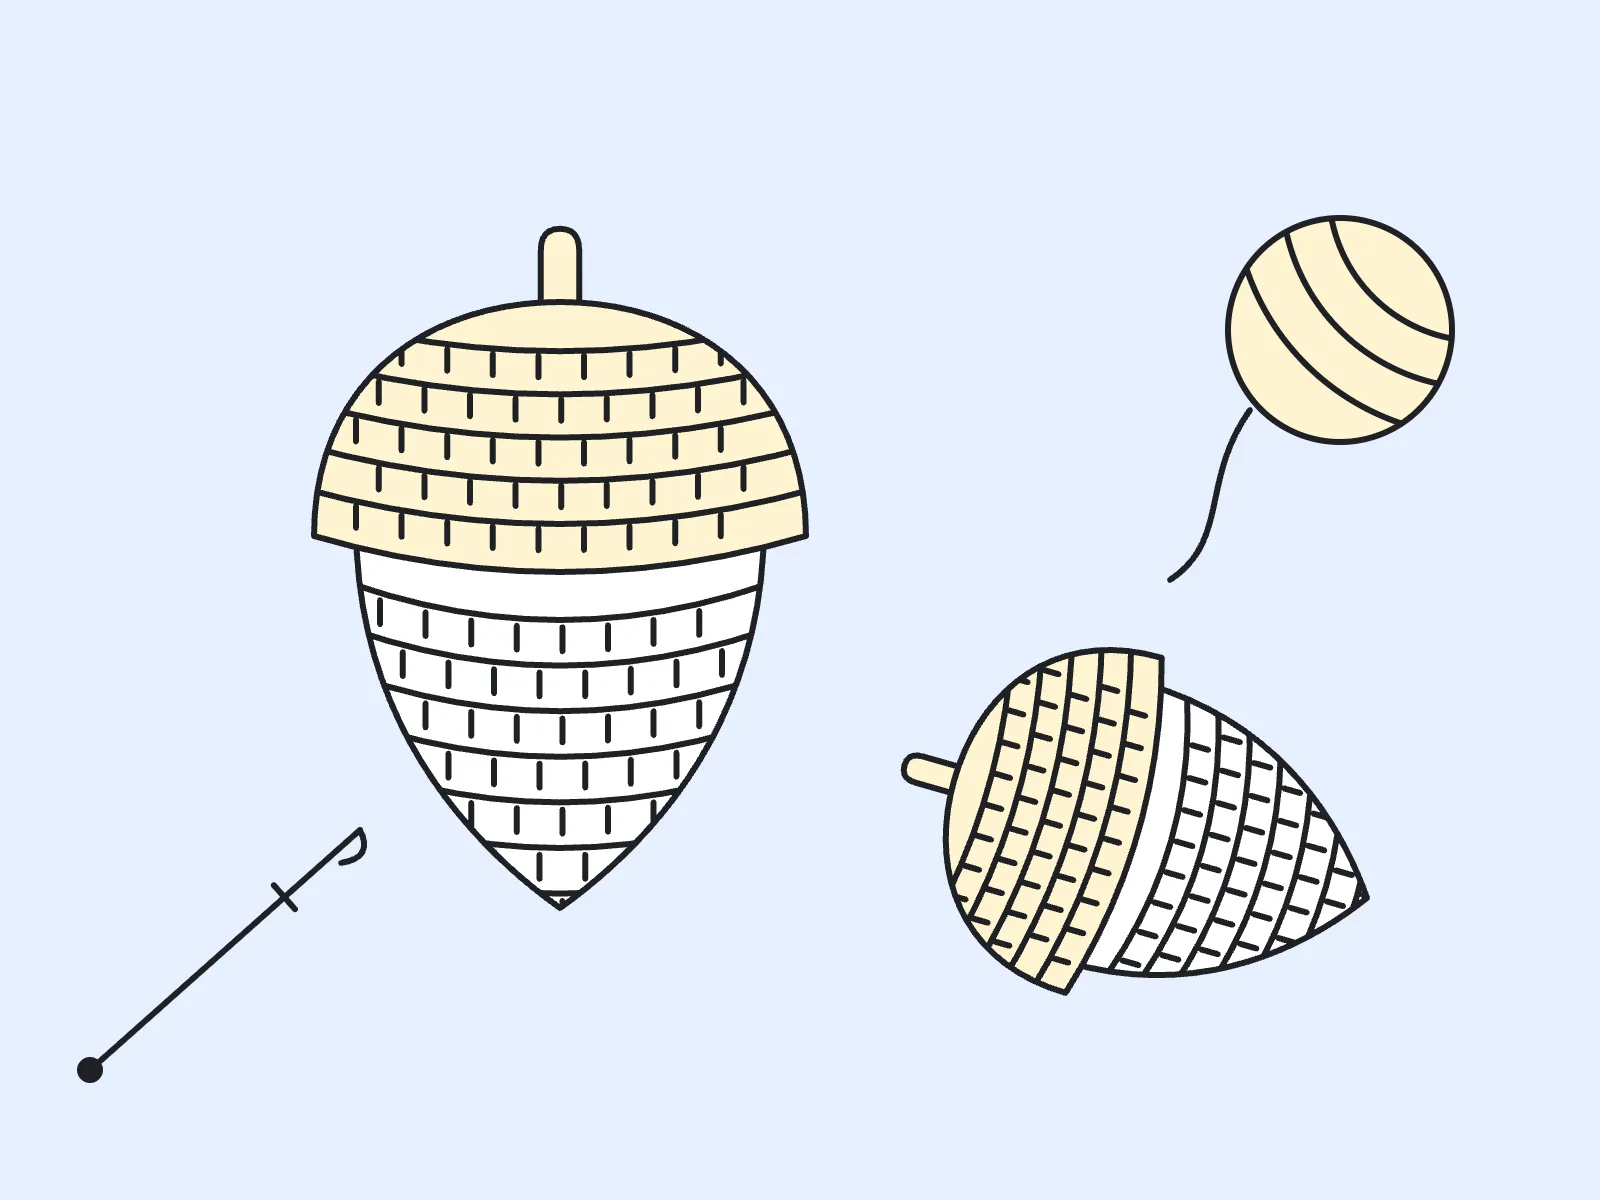
A small stuffed acorn, about 2½ in (6.5 cm) tall, in spiral rounds of single crochet: a nut that grows from a point, a wider cap and a little stem. Worsted cotton or acrylic in two colours, about 18 yds in all. Sixteen rounds, two pages. Says "not for children under 3" (small parts).
2 pages, US Letter, prints in black and white. The pattern is written in English.
© 2026 Row & Round · Free for personal use
What you'll make: a pocket-sized crochet acorn
Little Acorn is a small stuffed acorn. The nut grows from a point, the cap is wider and sits on top, and a short stem goes in the middle. It stands about 2½ in (6.5 cm) tall and 1¾ in (4.5 cm) across.
It is a free pattern for personal use, and the complete written instructions are on this page. It is a crochet acorn pattern for a shelf, a tree or a gift tag. Make a little pile of them for the table.
Safety first: this toy has small parts and stuffing, so it is not for children under 3.
Is it right as a first amigurumi?
Yes. This is amigurumi for beginners. There are 16 rounds in all, and you only need a few stitches: chain, single crochet, slip stitch and an increase, which is two single crochet in one stitch.
The tricky bits are small. You start with a magic ring, you work in a spiral instead of joining each round, and you stuff the piece before you close it. Each one is explained below.
Most rounds follow the same shape. In the first five rounds of the nut you add three increases per round, and the plain stitch count between them grows by one each time. After that you just crochet around.
Materials for the acorn
One small amount of two colours is enough. The yarn is worsted weight (#4), and you can use cotton or acrylic.
- Yarn: worsted-weight (#4) cotton or acrylic in two colours, about 10 yds (9 m) of A (nut) and 8 yds (7 m) of B (cap and stem).
- Hook: US E-4 (3.5 mm), a little smaller than the yarn label asks for, so the stuffing doesn't show.
- Notions: a handful of polyester fibrefill, a stitch marker, tapestry needle.
Size, gauge and how much yarn it takes
The finished acorn is about 2½ in (6.5 cm) tall and 1¾ in (4.5 cm) across. The nut is 18 stitches around and the cap is 21.
Gauge is not critical for a toy like this. What matters is that you keep the stitches tight, so the stuffing stays inside and does not show through. That is why the pattern asks for a hook a little smaller than the label suggests.
The yarn is about 18 yds in all: about 10 yds of colour A for the nut and 8 yds of colour B for the cap and stem. A small leftover ball of each is plenty.
Abbreviations, US crochet terms
The pattern uses US crochet terms. Here is what each abbreviation means.
- ch: chain
- sc: single crochet
- sl st: slip stitch
- st(s): stitch(es)
- rep: repeat
- *: repeat the instructions after the * as directed
How single crochet in spiral rounds works
In a spiral you do not join at the end of a round. You just keep going, so there is no seam line and no turning chain. The rounds simply wind around and up.
The catch is that nothing marks where a round ends. That is what the stitch marker is for. Place it in the first stitch of each round. When you get back to it, you have finished the round. Then move the marker up to the first stitch of the new round.
A magic ring is how you start. You make an adjustable loop, work 6 sc into it, then pull the tail to close the centre. The pattern says to pull the ring tight, and it matters: a tight ring leaves no hole at the point of the nut or the top of the cap.
The nut and the cap are two separate pieces, and the cap starts with its own magic ring.
The free amigurumi pattern, round by round
Place a marker in the first stitch of each round. Work the nut with A, then the cap with B. These are the instructions exactly as they are in the PDF. The numbers in brackets give your stitch count at the end of each round.
Nut, in colour A:
- Round 1: With A, 6 sc in a magic ring. Pull the ring tight. (6 sc)
- Round 2: *Sc in the next st, 2 sc in the next st; rep from * 2 more times. (9 sc)
- Round 3: *Sc in the next 2 sts, 2 sc in the next st; rep from * 2 more times. (12 sc)
- Round 4: *Sc in the next 3 sts, 2 sc in the next st; rep from * 2 more times. (15 sc)
- Round 5: *Sc in the next 4 sts, 2 sc in the next st; rep from * 2 more times. (18 sc)
- Rounds 6–10: Sc in each st around. (18 sc)
- Cap, in colour B:
- Round 11: With B, 6 sc in a new magic ring. Pull the ring tight. (6 sc)
- Round 12: 2 sc in each st around. (12 sc)
- Round 13: *Sc in the next st, 2 sc in the next st; rep from * around. (18 sc)
- Round 14: *Sc in the next 5 sts, 2 sc in the next st; rep from * around. (21 sc)
- Rounds 15–16: Sc in each st around. (21 sc)
Stuffing, closing and putting the acorn together
Finish the nut first, stuff it, then sew the cap on. Add a little more stuffing just before you close the seam. Then make the stem and sew it on.
- Nut: fasten off A, leaving a short tail. Stuff the nut firmly.
- Cap: sl st in the next st, fasten off B leaving a 12 in (30 cm) tail. Put the cap over the open top of the nut and sew it on all round with the tail, adding a little more stuffing before you close it.
- Stem: with B, ch 5. Sl st in the 2nd ch from the hook and in the next 3 ch. Fasten off and sew the stem to the centre of the cap. Weave in the ends.
- Small parts and stuffing: not for children under 3.
Tips for crocheting the acorn
A few small habits make the acorn neater and the spiral easier to follow.
- Keep your stitches tight and use the smaller hook. Loose stitches let the fibrefill show.
- Move the marker up at the start of every round, as soon as you reach it. Do it before you start the next stitch.
- Check your stitch count at the end of the increase rounds: 6, 9, 12, 15 and 18 for the nut, then 6, 12, 18 and 21 for the cap.
- Pull both magic rings tight before you go on, so there is no hole at the point or at the top of the cap.
- Stuff the nut firmly, then add a little more as you sew the cap on. Leave the 12 in (30 cm) tail on the cap, because you sew with it.
- Make a few. The pattern uses so little yarn that leftovers from two colours will do.
Follow it in Row & Round: counting rounds in a spiral
Counting is the hard part of a spiral, because no join tells you the round is done. Row & Round is an iPhone and iPad app for following knitting and crochet patterns. Open the PDF in it and a highlighter bar sits on the round you are working.
Tap +1 each time you pass your marker. The count and the bar move together, undo is one tap away, and your place is saved on every tap. Crochet projects count in rounds, so the count matches the pattern: Round 1 to Round 16.
Put the acorn down halfway and the bar is still on your round when you pick it up. That helps most at Round 11, where you switch to colour B and start a new magic ring.
Questions
- Is this really a free amigurumi pattern?
- Yes. Little Acorn is a free pattern for personal use. The licence line reads © 2026 Row & Round · Free for personal use.
- What do I need to make the crochet acorn?
- Worsted-weight cotton or acrylic in two colours (about 18 yds in all), a US E-4 (3.5 mm) hook, a handful of polyester fibrefill, a stitch marker and a tapestry needle.
- How big is the finished acorn?
- About 2½ in (6.5 cm) tall and 1¾ in (4.5 cm) across.
- How do I do a magic ring?
- You make an adjustable loop and work 6 sc into it. Then you pull the tail so the ring closes tight, which leaves no hole. The cap starts with its own magic ring.
- Do I join the rounds?
- No. You work single crochet in spiral rounds without joining. Place a marker in the first stitch of each round and move it up each time you reach it.
- Is it safe for a child?
- No. It has small parts and stuffing, so it is not for children under 3.