Frost Window Mug Cosy: A Free Mug Cosy Knitting Pattern
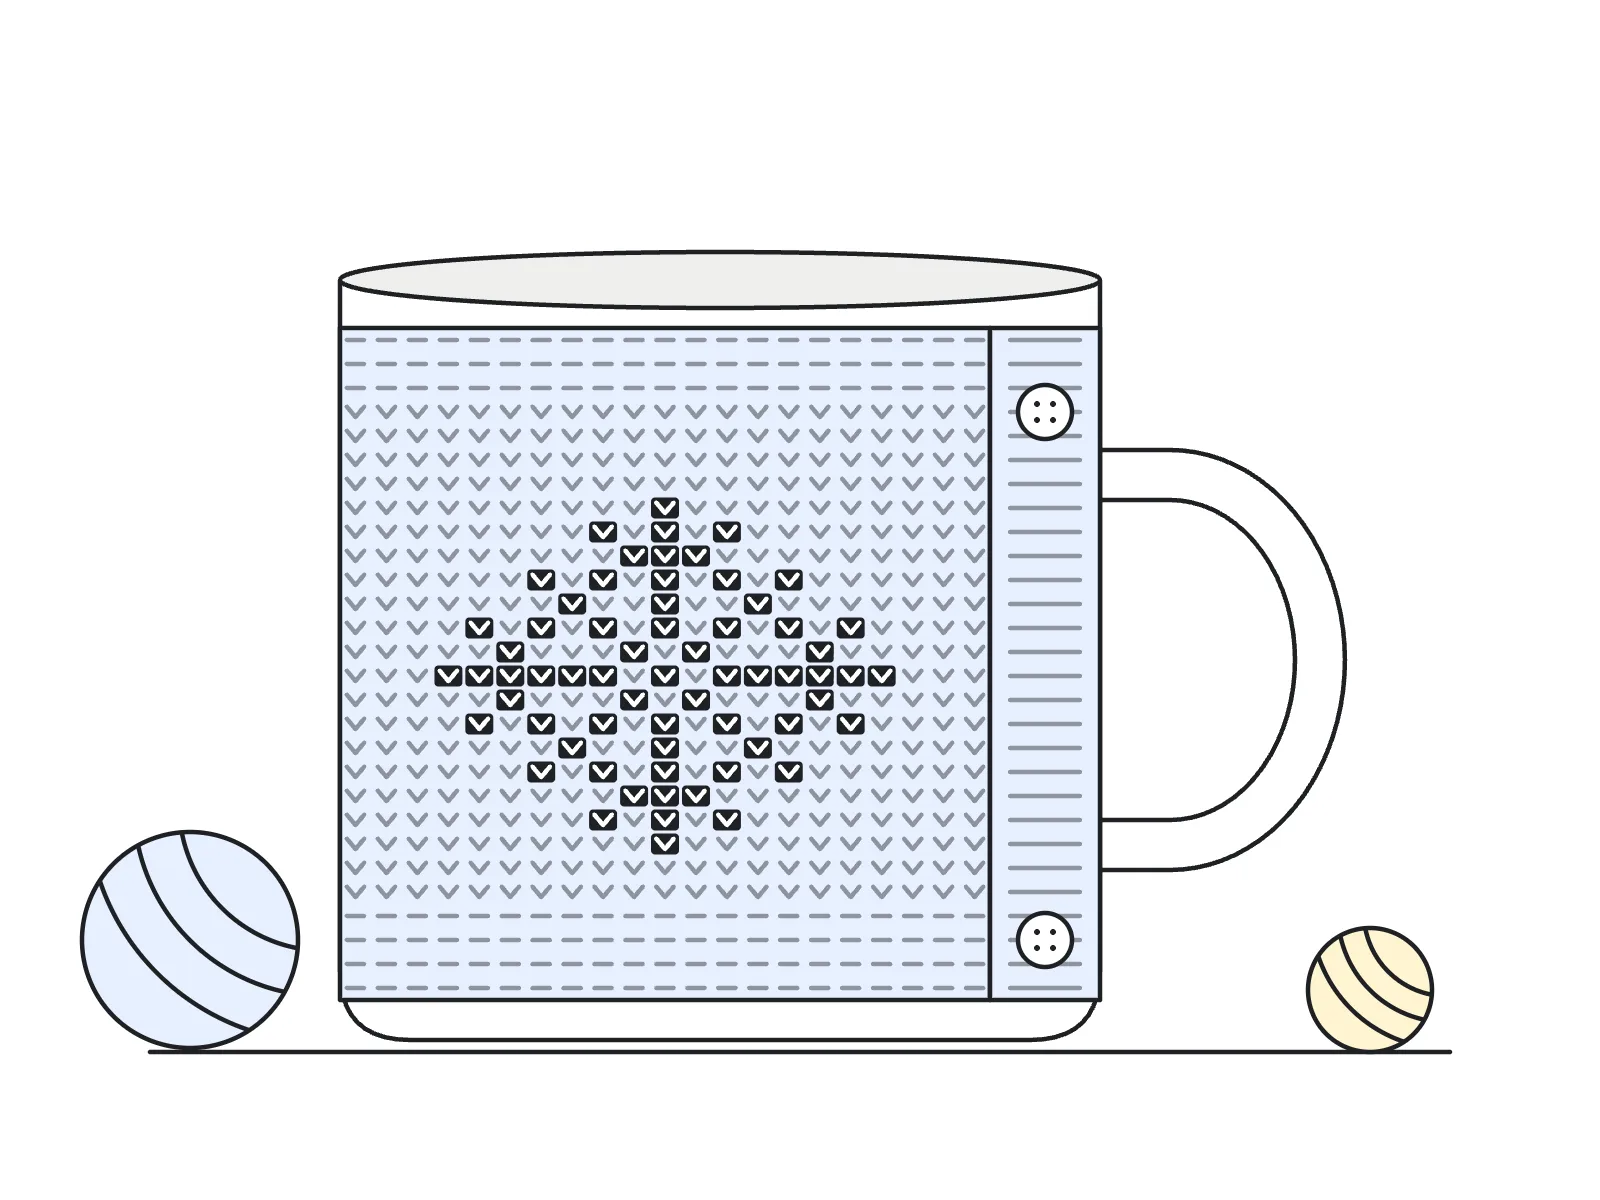
This free mug cosy knitting pattern makes a snug band with one snowflake knitted in two colours. It wraps around your mug and buttons on either side of the handle. The chart is the same from every side, and every row is written out too.
- Knitting
- Advanced beginner
About this pattern
A band that wraps around a mug and buttons on either side of the handle, with one snowflake knitted in two colours from a 15 × 15 chart. Every row is also written out. Worsted wool, about 55 yds main colour and 15 yds contrast, and two ½–⅝ in buttons. 28 rows on two pages.
2 pages, US Letter, prints in black and white. The pattern is written in English.
© 2026 Row & Round · Free for personal use
What you'll make: a free mug cosy knitting pattern
One snowflake, two colours, an evening's knitting. The Frost Window Mug Cosy is a snug band for a mug. It wraps around and buttons on either side of the handle.
It is worked flat on straight needles, with a lower border, a 15-row snowflake and an upper border. There are two buttonholes, and you sew the two buttons on at the end. This free mug cosy knitting pattern is free for personal use, so you can keep the written rows and follow them as often as you like. Make one for yourself or knit a few as small gifts.
Is it right for a first colourwork project?
It is rated advanced beginner, and it is a good first go at beginner colourwork knitting. You only need to know how to knit, purl, knit two together and make a yarn over.
Two things keep it gentle. The snowflake is the same from every side, so you can't read the chart the wrong way. And the 4 stitches at each end are knitted on every row (garter stitch), so the edges lie flat while you focus on the colour changes.
If you want to try stranded colourwork before you commit to a sweater, a small piece like this is a calm way in.
Materials, size and gauge
You need two colours of worsted-weight yarn: a main colour (MC) and a contrast colour (CC) for the snowflake.
The finished cosy is about 10¼ in (26 cm) wide and 4¼ in (11 cm) tall, before buttoning. It fits a mug of about 10–11½ in (25–29 cm) around.
Gauge is 20 sts and 24 rows = 4 in (10 cm) in stockinette with the colourwork. Gauge is not critical, because a mug cosy has some stretch.
- Yarn: worsted-weight (#4) wool or wool blend in two colours: about 55 yds (50 m) of MC and 15 yds (14 m) of CC.
- Needles: US 7 (4.5 mm) straight needles.
- Notions: two ½–⅝ in (12–15 mm) buttons, sewing thread or yarn to sew them on, tapestry needle.
Abbreviations
The pattern uses plain US knitting terms. In the snowflake rows, stitches with no colour named are worked with MC.
- k: knit
- p: purl
- k2tog: knit 2 together
- yo: yarn over (makes a small hole for the button)
- MC / CC: main colour / contrast colour
- k3 CC, p3 CC: work that many sts with CC; sts with no colour named are worked with MC
- RS / WS: right side / wrong side
- st(s): stitch(es)
Reading the snowflake chart
The snowflake knitting chart is 15 squares wide and 15 rows tall. A blank square is MC: knit it on a RS row, purl it on a WS row. A filled square is CC: knit it on a RS row, purl it on a WS row.
The chart is numbered with the pattern's own row numbers, starting at row 7. RS rows are on the right and read from right to left. WS rows are on the left and read from left to right.
The chart covers the centre 15 sts. On each row, work the k4 edge sts and 14 MC sts before it, then the 15 chart sts, then 14 MC sts and the k4 edge sts after it. That makes 51 sts in all.
Prefer words to squares? The written rows below say the same thing, stitch by stitch.
The pattern: cast on and lower border
With MC, cast on 51 sts. Then work the lower border.
- Cast on: With MC, cast on 51 sts.
- Rows 1–4: Knit.
- Row 5 (RS): K1, yo, k2tog, k48. (buttonhole made)
- Row 6 (WS): K4, p43, k4.
The pattern: snowflake rows 7 to 21
Carry both colours across the back as you go. Row 14 is the centre row of the snowflake, and it needs one small extra step: see the tips below.
- Row 7 (RS): K25, k1 CC, k25.
- Row 8 (WS): K4, p19, p1 CC, p1, p1 CC, p1, p1 CC, p19, k4.
- Row 9 (RS): K24, k3 CC, k24.
- Row 10 (WS): K4, p17, [p1 CC, p1] 4 times, p1 CC, p17, k4.
- Row 11 (RS): K22, k1 CC, k2, k1 CC, k2, k1 CC, k22.
- Row 12 (WS): K4, p15, [p1 CC, p1] 6 times, p1 CC, p15, k4.
- Row 13 (RS): K20, k1 CC, k3, k1 CC, k1, k1 CC, k3, k1 CC, k20.
- Row 14 (WS): K4, p14, p6 CC, p1, p1 CC, p1, p6 CC, p14, k4.
- Row 15 (RS): K20, k1 CC, k3, k1 CC, k1, k1 CC, k3, k1 CC, k20.
- Row 16 (WS): K4, p15, [p1 CC, p1] 6 times, p1 CC, p15, k4.
- Row 17 (RS): K22, k1 CC, k2, k1 CC, k2, k1 CC, k22.
- Row 18 (WS): K4, p17, [p1 CC, p1] 4 times, p1 CC, p17, k4.
- Row 19 (RS): K24, k3 CC, k24.
- Row 20 (WS): K4, p19, p1 CC, p1, p1 CC, p1, p1 CC, p19, k4.
- Row 21 (RS): K25, k1 CC, k25.
The pattern: upper border and finishing
The upper border has the second buttonhole. Work it on row 25, then finish off.
- Row 22 (WS): K4, p43, k4.
- Row 23 (RS): Knit.
- Row 24 (WS): K4, p43, k4.
- Row 25 (RS): K1, yo, k2tog, knit to end. (buttonhole made)
- Rows 26–28: Knit.
- Bind off all sts knitwise on the RS. Weave in the ends on the WS, along the colour they belong to.
- Sew the two buttons on the other short end, lined up with the buttonholes.
- Wrap the cosy around the mug with the handle between the two buttons, and button it.
Tips for stranded colourwork
Stranded colourwork means carrying both colours across the back of your work. This mug cozy pattern keeps it to one small motif, so it is a kind place to practise.
Keep the strands loose. If you pull them tight, the fabric puckers and the snowflake looks squeezed. Spread your stitches out on the needle as you change colour.
Mind the long strand on row 14. On the snowflake's centre row, catch MC behind the CC halfway along each 6-st CC arm, so the strand on the inside is not too long.
- Keep the strands loose so the fabric doesn't pucker.
- Catch MC behind the CC halfway along each 6-st CC arm on row 14.
- Knit the 4 edge sts on every row, as written, so the edges lie flat.
- Weave in the ends along the colour they belong to.
Following it in Row & Round
This free mug cosy knitting pattern comes with a chart and with every row written out, which suits Row & Round. Open the PDF in the app and a highlighter bar sits on the row you're working. The bar says right side or wrong side, which helps on a pattern where RS and WS rows read in opposite directions.
Tap +1 and the count and the bar move together. Undo is always one tap away, and your place is saved on every tap. You can look up from your stitches and find your place again at a glance.
Row & Round also lets you draw a colourwork chart of your own and knit from it with the same bar.
Questions
- Is this mug cosy knitting pattern really free?
- Yes. It is a free pattern for personal use. The licence line reads: © 2026 Row & Round · Free for personal use.
- How hard is the Frost Window Mug Cosy?
- It is advanced beginner, and meant as a first try at colourwork. The snowflake chart is the same from every side, so you can't read it the wrong way.
- What size mug does it fit?
- It fits a mug of about 10–11½ in (25–29 cm) around. The cosy is about 10¼ in (26 cm) wide and 4¼ in (11 cm) tall before buttoning.
- How much yarn does it use?
- You need about 55 yds (50 m) of main colour and 15 yds (14 m) of contrast colour, in worsted-weight (#4) wool or wool blend.
- Does my gauge matter?
- Not much. Gauge is 20 sts and 24 rows = 4 in (10 cm), but it is not critical, because a mug cosy has some stretch.
- How do I stop my colourwork puckering?
- Keep the strands loose as you carry both colours across the back. On row 14, also catch MC behind the CC halfway along each 6-st CC arm.