
How to Do the Long-Tail Cast On, Step by Step
The short answer: For the long-tail cast on, leave about 1 inch of tail per stitch plus 6 inches, so 30 stitches needs at least 36 inches. Hold the tail on your thumb and the ball yarn on your index finger.
Published By the Row & Round team4 minutes to read
For the long-tail cast on, leave about one inch of tail for every stitch, plus six inches, and measure it before you make the slip knot. For 30 stitches that is at least 36 inches. Then hold the tail over your thumb and the ball yarn over your index finger, and make each stitch through the thumb loop. Knitters like it because it makes the stitches and a firm, neat edge in one pass. You can find more beginner steps in our knitting guides.
How much tail do I leave for a long-tail cast on?
Leave about one inch of tail per stitch, plus six extra inches. That is the rule of thumb in Lion Brand's beginner guide, and Vogue Knitting also suggests about an inch per stitch. A tail that's too short runs out partway across the row. Too much is better than too little.
For a more exact length with your yarn and needles, use the sample method from Lion Brand:
- Cast on 10 stitches with the long-tail method.
- Slide the stitches off the needle and pull your hands apart to unravel them.
- Measure the yarn between your hands. That is the length for 10 stitches.
- Divide the number of stitches you want by 10, multiply by that length, and round up.
- Add at least 10 inches (25.5 cm) for a beginning tail.
When should you use the long-tail cast on?
Use it for most flat projects, such as scarves, blankets and hats. Lion Brand calls it the next skill to learn once the knitted cast on feels comfortable, because it is faster and gives a neater, more polished edge. It uses one needle and two strands: the tail and the working yarn from the ball. That is why the tail length matters. As you cast on, the tail gets shorter, and once it runs out you cannot add more stitches.
How do you set up the slingshot position?
Make a slip knot at the tail length you measured and put it on the needle in your right hand. Then:
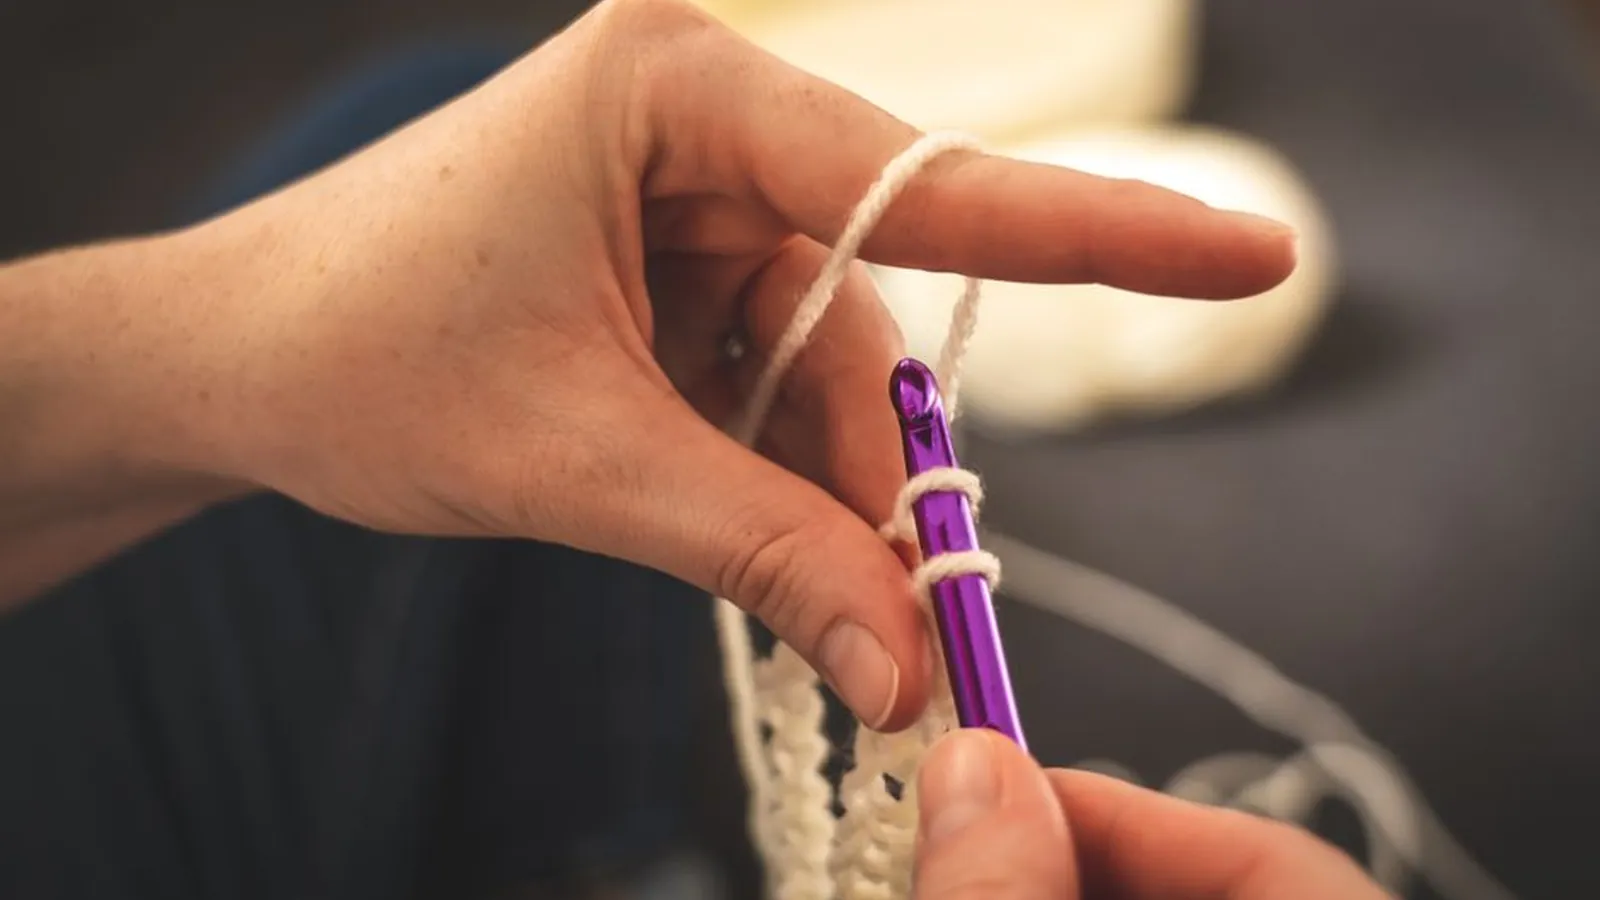
- Drape the tail over your left thumb.
- Bring the yarn from the ball over your left index finger.
- Close your other fingers loosely around both strands.
This is called the slingshot position. Keep your grip relaxed. Lion Brand warns that squeezing the tail tightly makes the stitches land on the needle too tight.
How do you make each stitch?
Every stitch takes the same four moves.
- Insert the needle up through the loop around your thumb, from bottom to top.
- Swing the needle over and catch the strand on your index finger.
- Pull that strand back down through the thumb loop.
- Slip the thumb loop off your thumb and gently tug the tail to snug the new stitch.
Put your thumb back in the slingshot position and repeat until you have the number of stitches the pattern asks for. The stitches should look even in size and spacing. With practice, casting on 30 stitches can take under a minute.
What if the cast on is too tight or too loose?
If the stitches are too tight to knit into, cast on with a needle one or two sizes larger, or hold two needles together while you cast on. If the edge looks loose and baggy, go down a needle size. These fixes come from Lion Brand and Vogue Knitting.
If you run out of tail before you reach your stitch count, unravel the stitches, measure again and start over. Most beginners do it at least once. A stitch that slips off the needle later is a different problem, and you can pick up a dropped stitch without starting over.
Is there a way to avoid guessing the tail?
Yes: the two-strand method. Lion Brand describes using two strands, either from two balls or one from the outside and one from the centre of a centre-pull ball. Hold both strands together as if they were one, make a slip knot and put it on the needle. Then separate the strands and cast on, with one strand over your thumb and the other over your index finger. When you have the stitches you need, cut the strand that wrapped around your thumb, leaving at least 10 inches (25.5 cm) for a beginning tail. Remove the slip knot after the first row and untie it carefully.
How do you work the first row?
Work the first row with the yarn from the ball, not the tail, because working with the tail uses it up very quickly. Winding the tail into a small butterfly helps you avoid grabbing it by mistake. On the side facing away from you while you cast on, the wraps look like purl bumps. Some knitters treat the first row as a wrong-side row, but you do not have to; choose what suits the edge and stitch pattern you want.
Try it
Once the stitches are on the needle, row one begins. Keep your place from there with the row counter in Row & Round, which is coming soon to iPhone, iPad and Apple Watch.
Bottom line
Measure about one inch of tail per stitch plus six inches, set up the slingshot grip, and make each stitch through the thumb loop. If the edge is tight, use a larger needle; if you run out of tail, start again with a longer one.
Good to know
- How much tail do I need for the long-tail cast on?
- About one inch per stitch, plus six inches or more. For 30 stitches that is at least 36 inches. Measure it before you make the slip knot.
- What do I do if I run out of tail?
- Unravel the stitches, measure a longer tail and start again. Lion Brand notes this happens to most beginners.
- Should I work the first row with the tail?
- No. Work with the yarn from the ball. Working with the tail uses it up very quickly.
- What if the cast-on edge is too tight to knit into?
- Try a needle one or two sizes larger for the cast on, or hold two needles together. If the edge is loose and baggy, go down a needle size.